GuideHow to secure WordPress login with two-factor and login limits
Last updated: 30 October 2026
Bots try to sign in to every WordPress website, guessing usernames and passwords day and night. This guide shows how to secure WordPress login with FluentAuth, a free plugin: block an address after a few wrong passwords, ask for a code from your phone when you sign in, and close two doors most websites never use. It takes about ten minutes.
Before you start
- Use a strong password for every account that can sign in: long, and used nowhere else. A password manager makes that easy.
- Give each person their own account, with the lowest role they need, rather than sharing yours: see Give someone access to one website.
- Check your website sends email. Emailed sign-in codes need it. Click Lost your password? on your login page and see whether the email arrives. If it doesn't, fix that first: WordPress not sending email?
Install FluentAuth
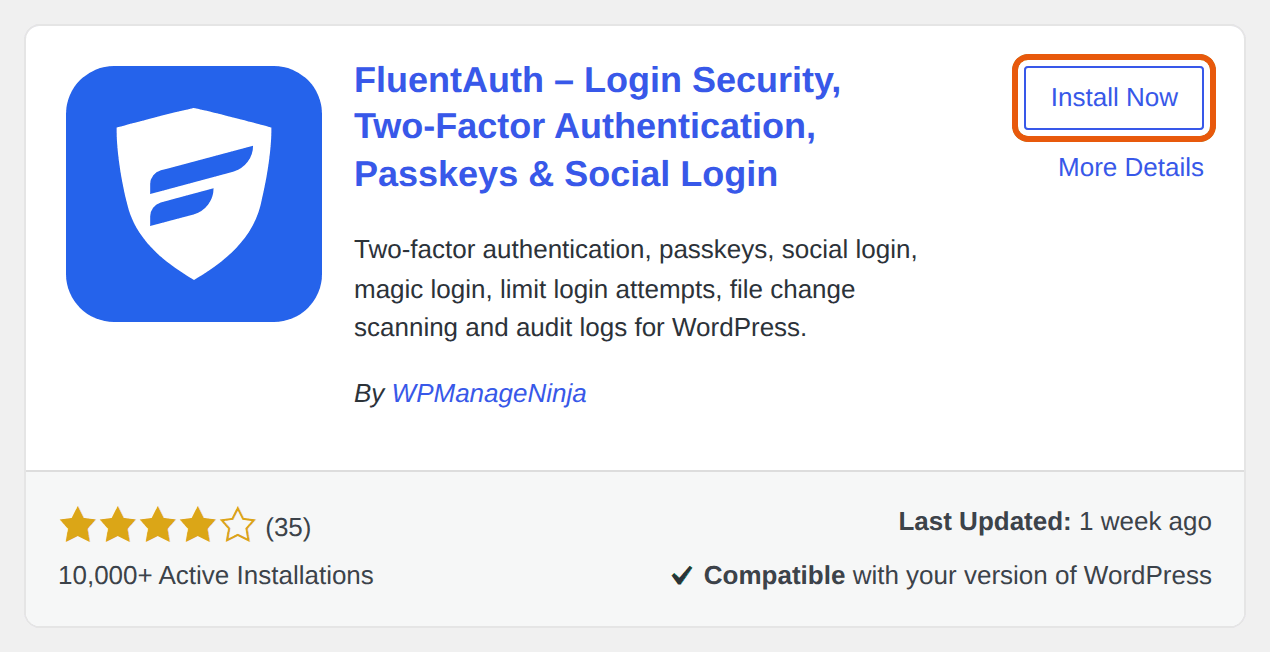
In WordPress, go to Plugins → Add Plugin and search for FluentAuth. Click Install Now, then Activate. It's free, with no paid version.
Secure WordPress login in six steps
Click FluentAuth in the WordPress menu. Its Security setup opens, with six steps. Nothing is saved until the last one.
1. Connection: check it sees your real address
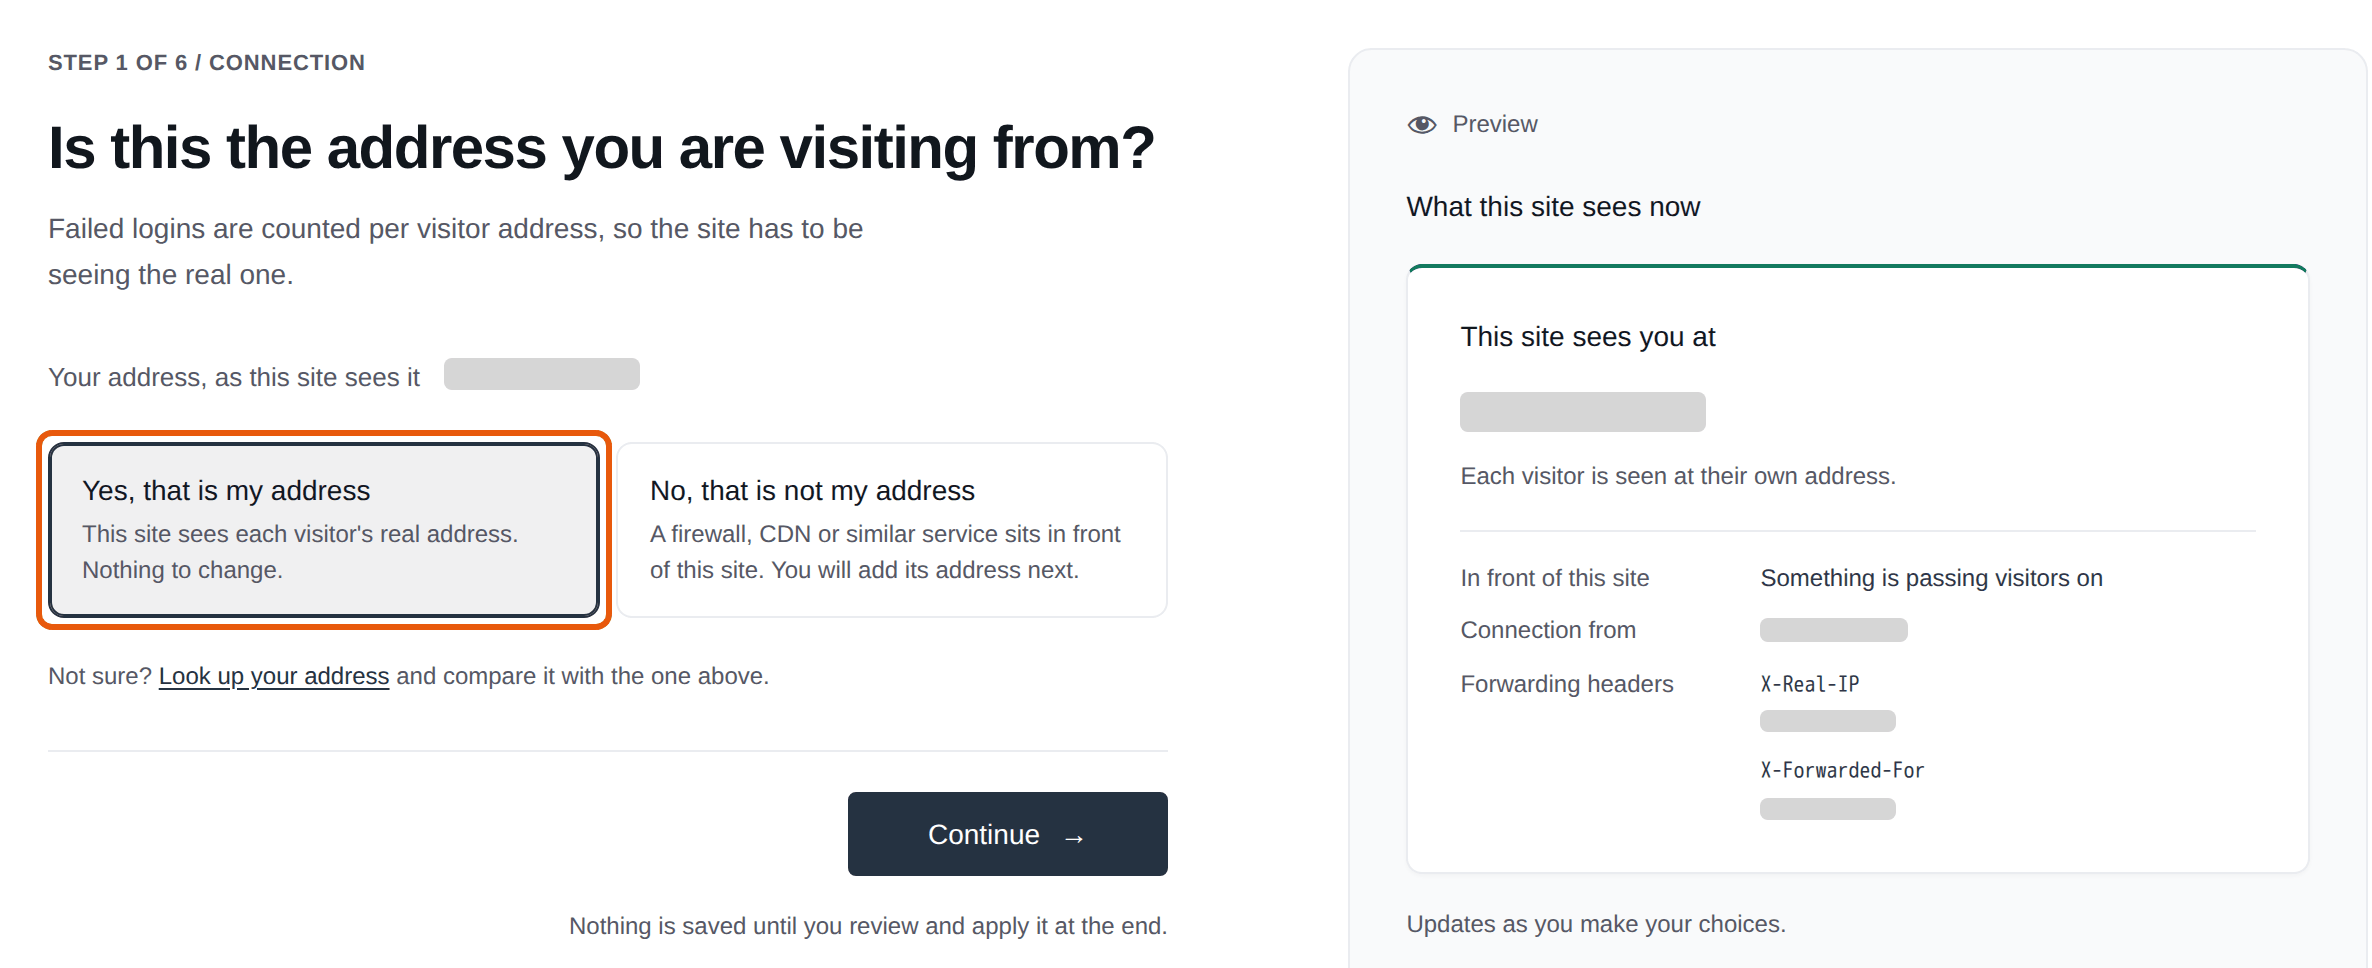
FluentAuth blocks an address after too many wrong passwords, so it needs to see each visitor's own address. Check that Your address, as this site sees it is yours: Look up your address opens a page that shows it. Then click Yes, that is my address, and Continue.
If it shows a different address, open a ticket before you go on, and we'll check it with you. If your website uses Cloudflare, FluentAuth may skip this step: it reads each visitor's address from Cloudflare.
2. Two-factor: ask for a code at sign-in
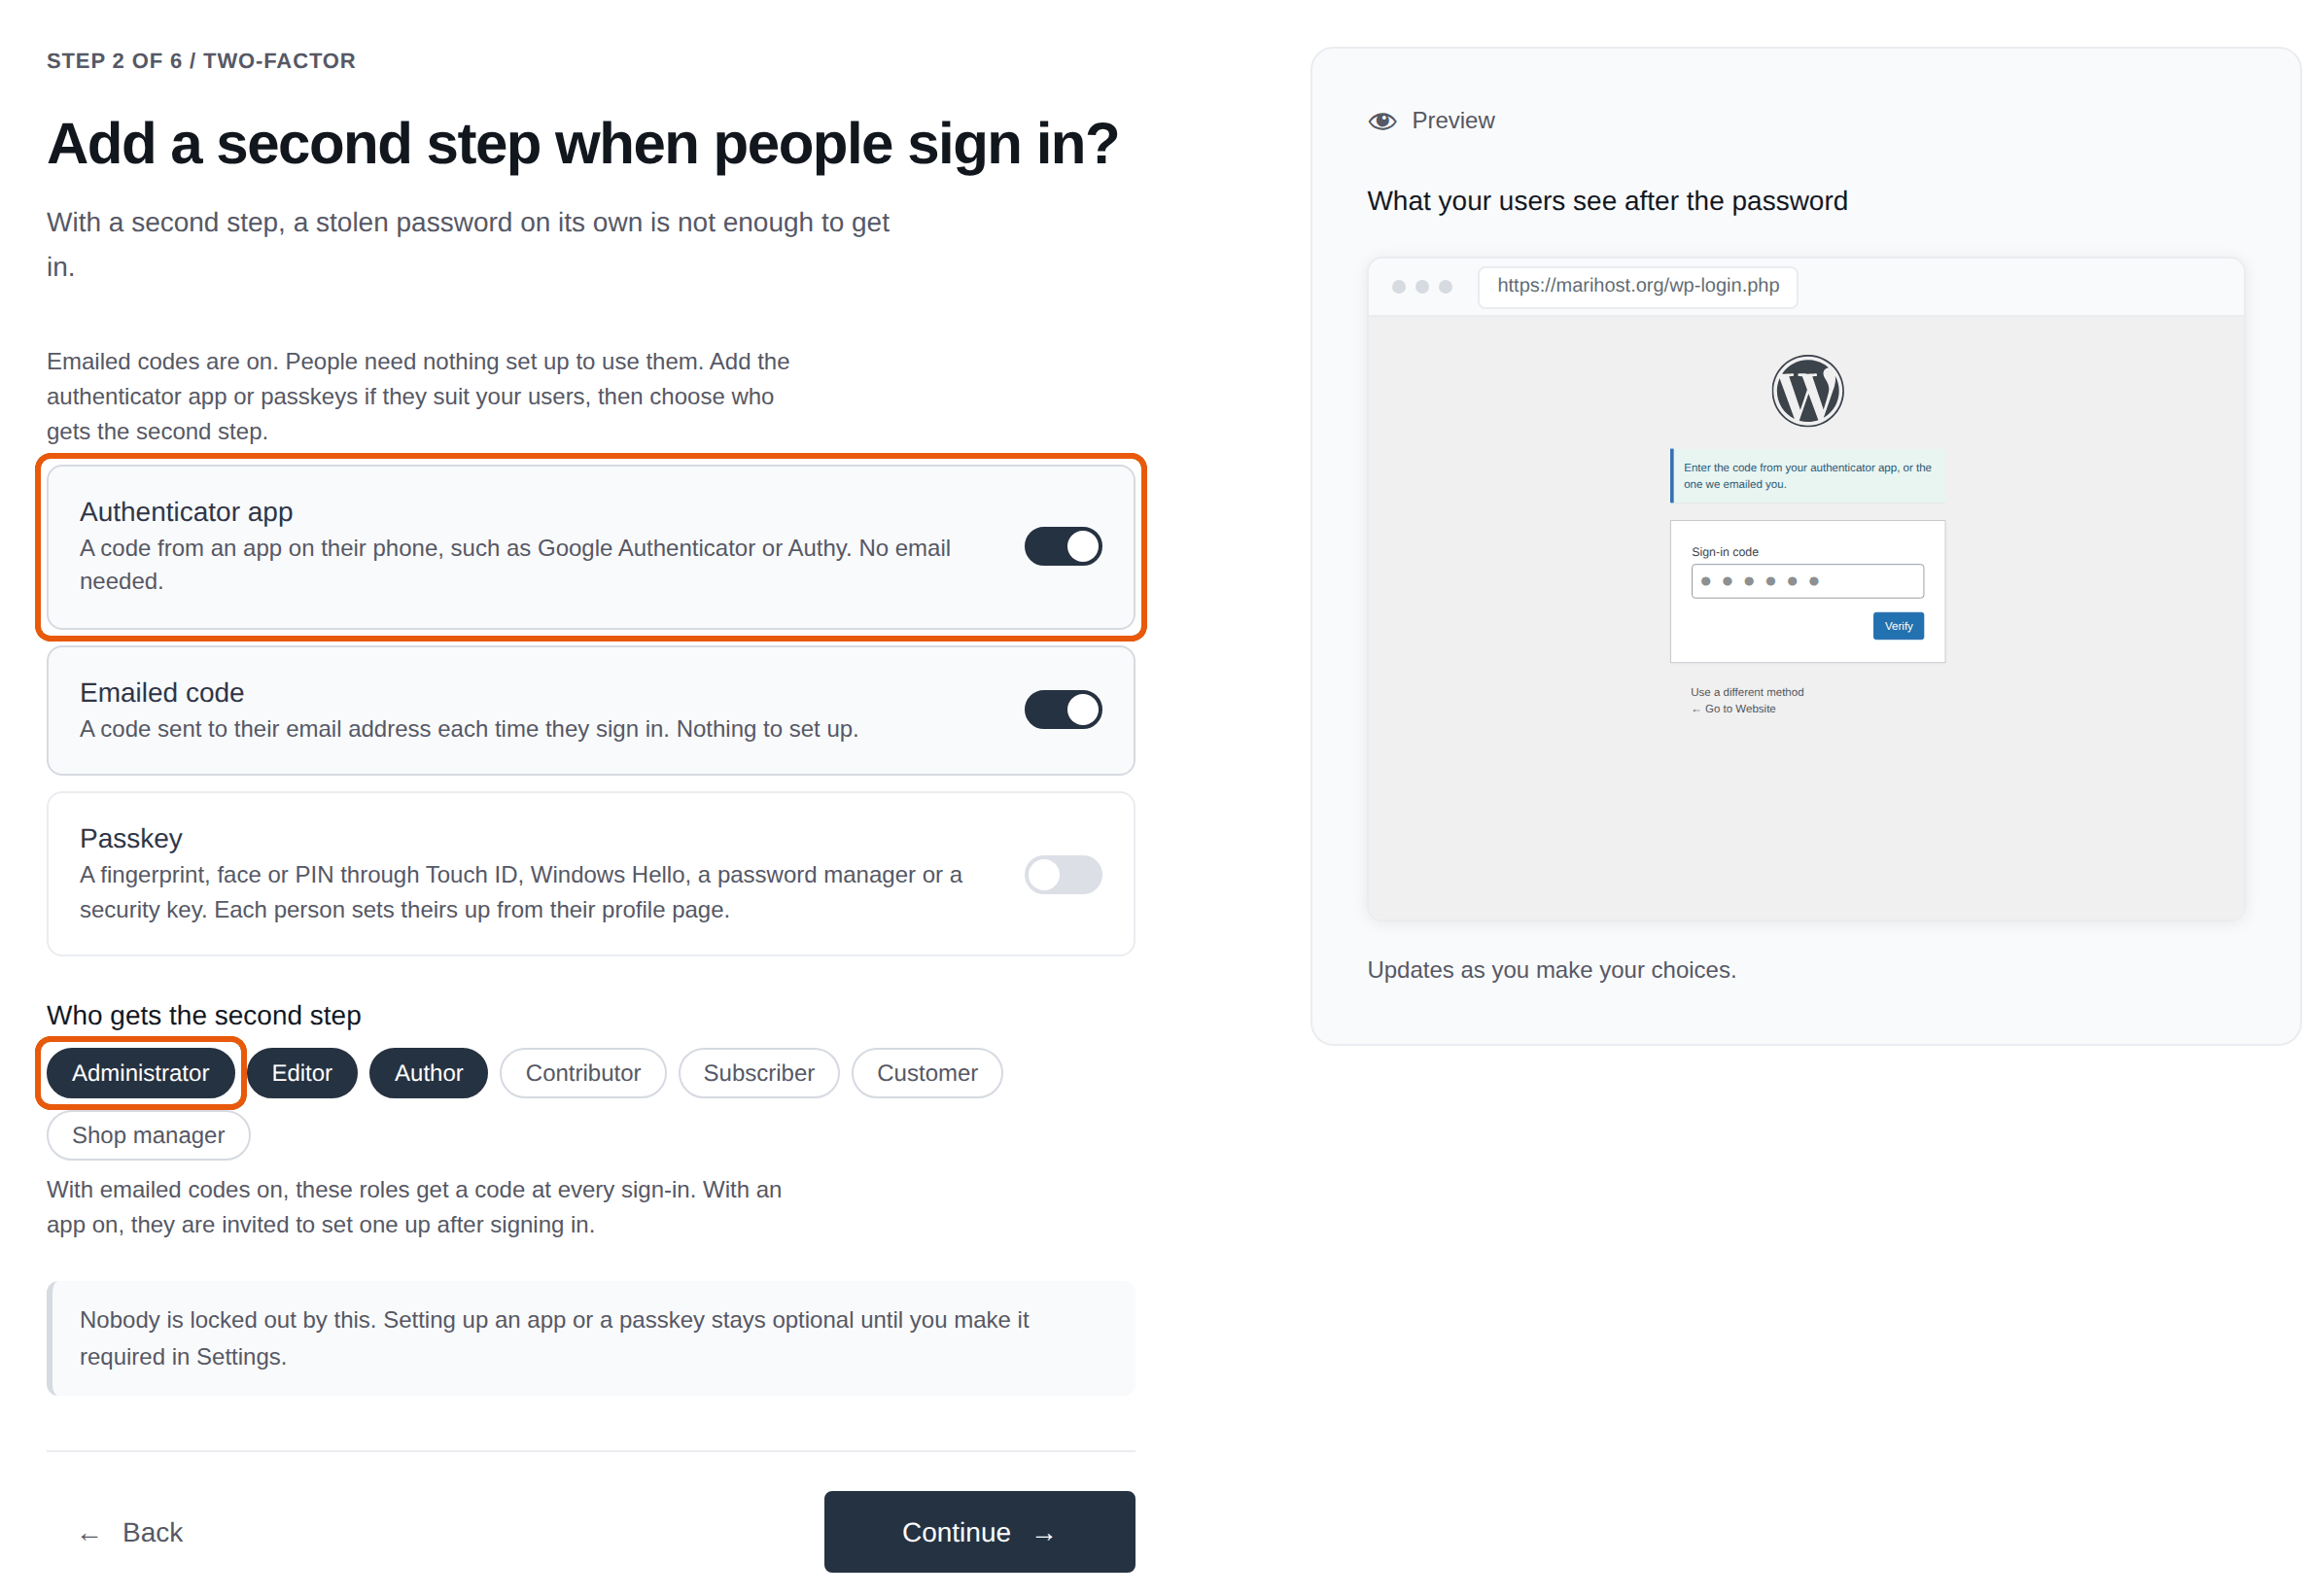
Turn on Authenticator app: a code from an app on your phone, which needs no email. Emailed code is on already: keep it only if your website sends email.
Under Who gets the second step, keep Administrator, Editor and Author. Running a WooCommerce shop? Add Shop manager too. Click Continue.
3. Failed attempts
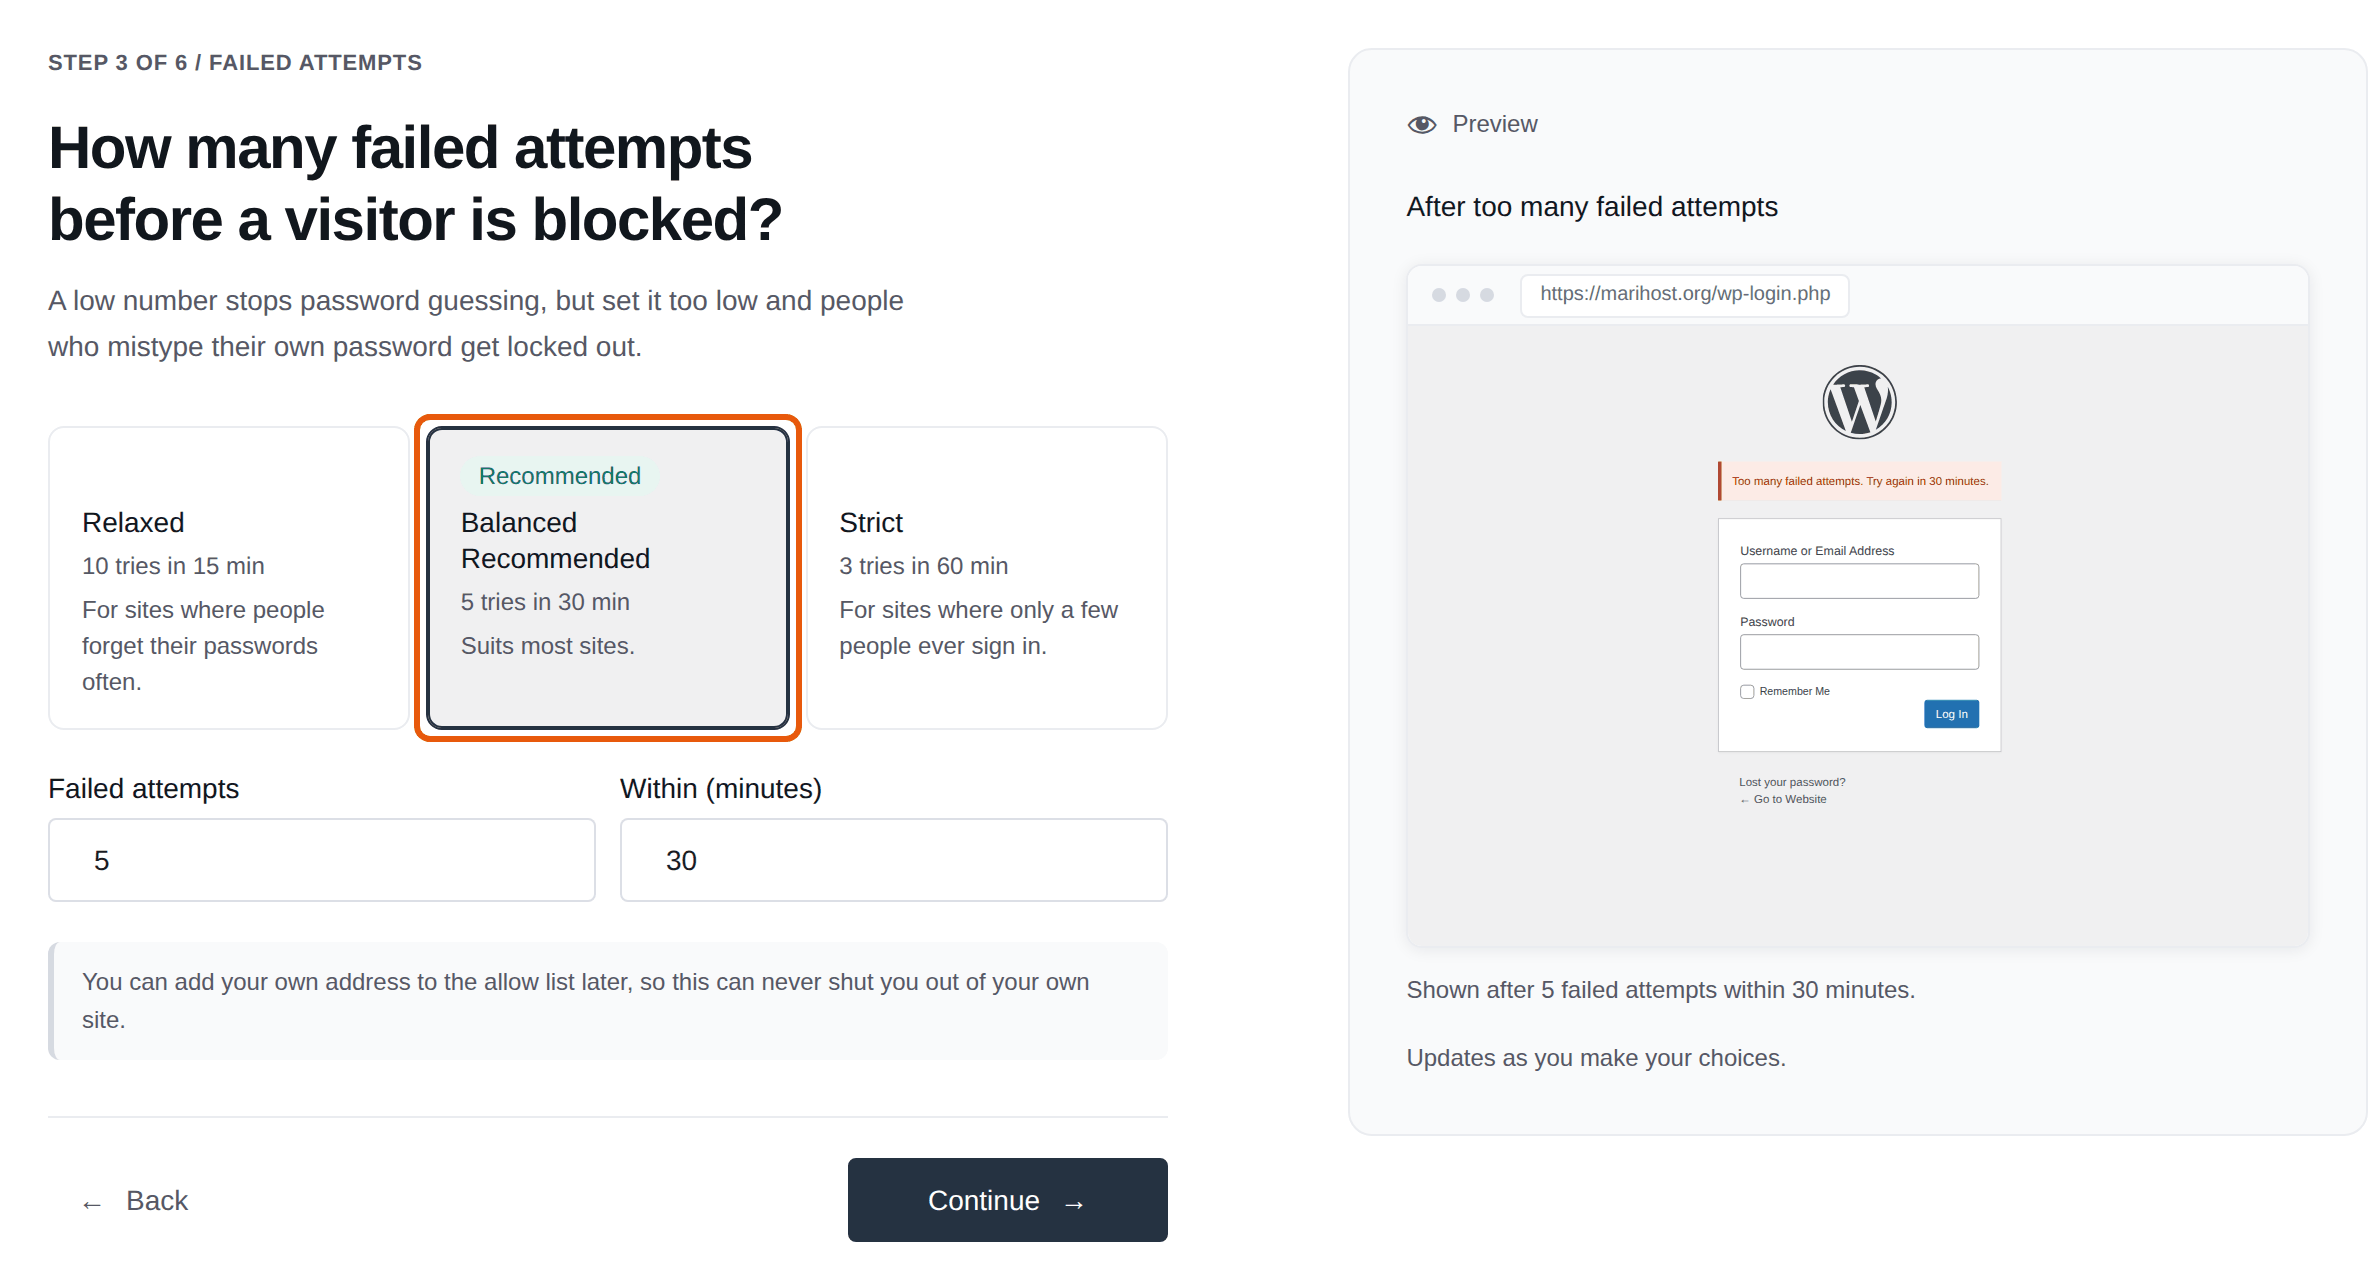
Keep Balanced: after 5 wrong passwords within 30 minutes, that address has to wait 30 minutes. Click Continue.
4. Protections
Keep the recommended protections on:
- Block the old remote sign-in route (XML-RPC): bots use it to try thousands of passwords at once. Leave it unblocked if you use Jetpack, the WordPress mobile app or a tool that posts to your website.
- Hide usernames from the public: a username is half of every login.
- Verify email addresses on signup: only matters if people can register on your website, such as shop customers. It needs working email too.
Click Continue.
5. Alerts
Choose who gets an email each time they sign in (Administrator is a good start), and whether you'd like a monthly summary. Click Review settings.
6. Review, and apply
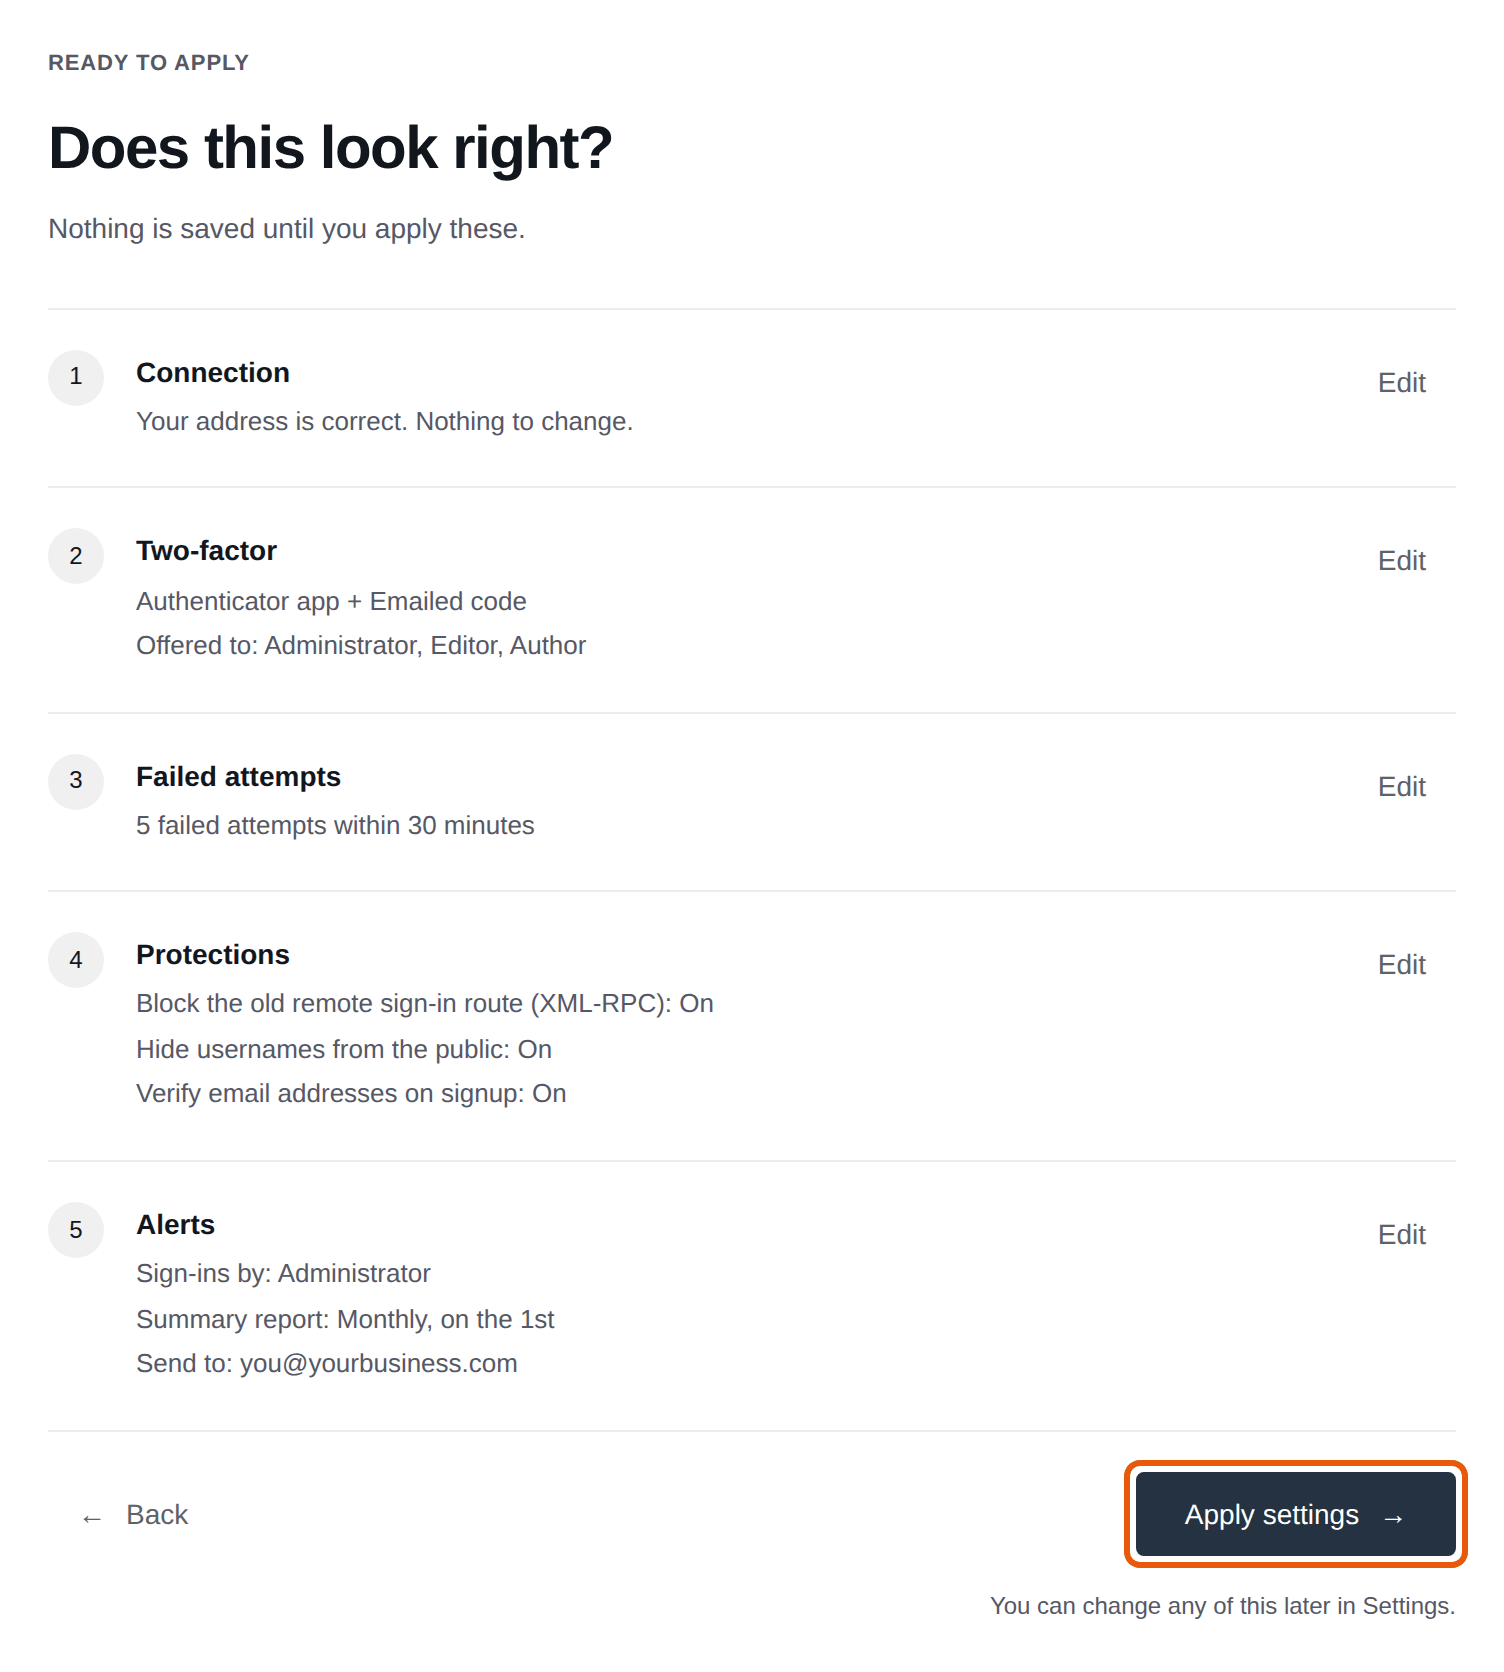
Check your choices, then click Apply settings.
Set up your authenticator app
Each person who signs in sets up their own:
- Install an authenticator app on your phone, such as Google Authenticator, Microsoft Authenticator or 1Password.
- In WordPress, go to Users → Profile. Under Two-Factor Authentication, click Set up next to Authenticator app.
- Scan the code with the app, type the 6-digit code it shows, and click Verify and turn on.
- Save your 10 recovery codes with Copy or Download, somewhere safe and not only on your phone. Click I have saved them.
From then on, WordPress asks for a code from the app each time you sign in.
Once everyone has an app set up, you can make it required: FluentAuth → Settings → Two-Factor Authentication → Make it required.
If you can't sign in
- Too many wrong passwords: wait 30 minutes and try again, or sign in with the Admin button in your control panel, which doesn't use the login page: see WordPress tools in the control panel.
- Lost your phone: type one of your recovery codes instead of the app's code. Or sign in with the control panel's Admin button, then go to Users → Profile, click Turn off next to Authenticator app, and set it up again on your new phone.
- FluentAuth itself is in the way: switch it off from the control panel: Deactivate a plugin without logging in.
Keep your control panel safe too
The Admin button in your control panel signs you in to WordPress without a password or a code. So anyone who can sign in to your control panel can open your WordPress.
- Give your client area a strong password that you use nowhere else, and keep it to yourself.
- Turn on two-factor login for your control panel: open your Profile in the control panel and click Enable two-factor authentication.
What's next
- Keep everything up to date: Update WordPress, plugins and themes safely
- Have a way back: Back up and restore your website
- Let someone help without your password: Give someone access to one website
Want us to look after your WordPress security?
WordPress Care keeps your website updated, backed up off-site and monitored, with updates checked by a person.
Keep reading
Update WordPress safely
What updates by itself, what to do before a big update, and how to undo one that breaks.
Read the guideBack up and restore your website
Make a backup before a big change, and put back your whole site or only some files, without a ticket.
Read the guideGive someone access to one website
A login of their own for a developer or client, for just the websites they work on.
Read the guide